Testing Push Notification On iOS Simulator – Developer Guide!
Push notifications are the only way through which users can stay updated about your Application. In iOS applications, The Apple Push Notification Service (APNs) includes pushing notifications functionality. Earlier we had to use a real device to test if push notifications are working or not since push notifications weren’t supported in Xcode’s iOS Simulator. However, […]
Testing Push Notification on iOS Simulator Guide
Push notifications are the only way through which users can stay updated about your Application. In iOS applications, The Apple Push Notification Service (APNs) includes pushing notifications functionality. Earlier we had to use a real device to test if push notifications are working or not since push notifications weren’t supported in Xcode’s iOS Simulator.
However, we have some good news for all the iOS developers. Xcode 11.4 beta has been released and the best part about this version is that we can now finally test push notifications in the iOS Simulator!
“You must be thinking how is it possible in the simulator? Yes It’s Possible”
Up to version Xcode 11.3, we had to work with 3rd party applications like NWPusher and an actual device to test features like Rich Notifications. Although that worked quite well, it’s always nicer to iterate fast on the iOS simulator. The recent release of Xcode 11.4 beta makes this possible with a newly added small command.
Let’s see how it works, let’s start from scratch:
Step:1
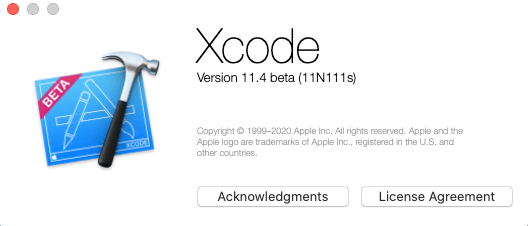
Let’s update our old Xcode version with Xcode 11.4 beta. For this, we obviously need to have Xcode 11.4 beta or a higher version than it. I have Xcode 11.4 beta. Let’s start now!
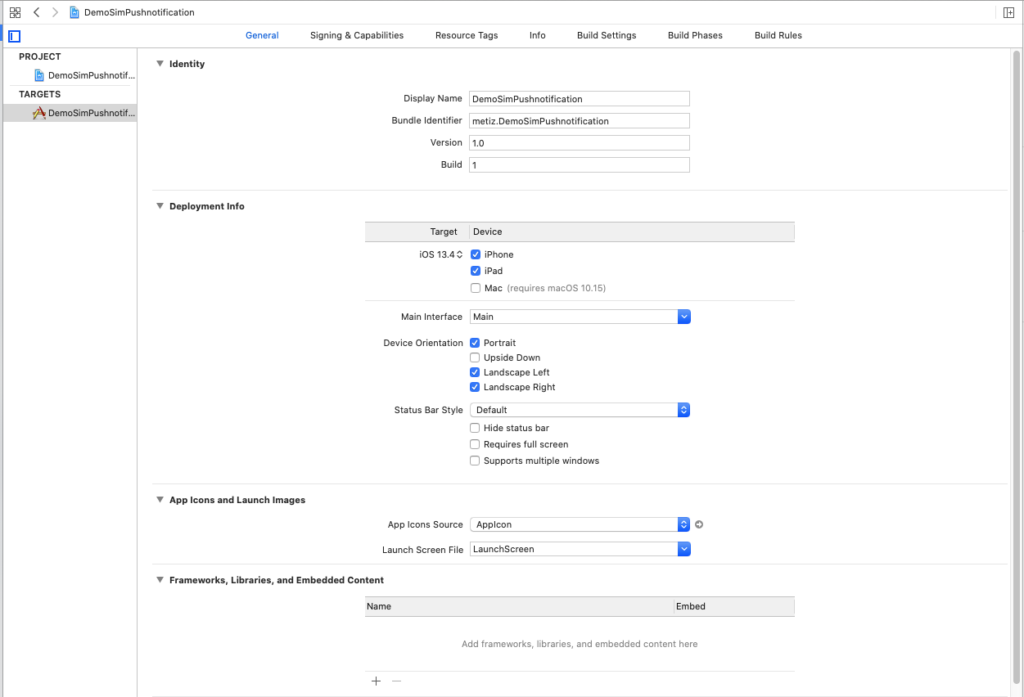
Now, let’s create a new project. I’ve named it DemoSimPushnotification and the user interface I chose is Storyboard.
I am adding a UILabel in the View Controller of Main.StoryBoard. Now, when we run the app in a simulator, it looks like this:

Step:2
First, let’s add something!
Go to the AppDelegate.swift file and import UIKit to import Apple’s UserNotifications framework.
>> import UserNotifications
Now, in the AppDelegate class, let’s create a function, registerForPushNotifications(), that requests permission from the user to allow the app to send push notifications.

Now, call the function we just created, from the application(_:didFinishLaunchingWithOptions:) Method of AppDelegate. For that, add registerForPushNotifications() above the return true statement.
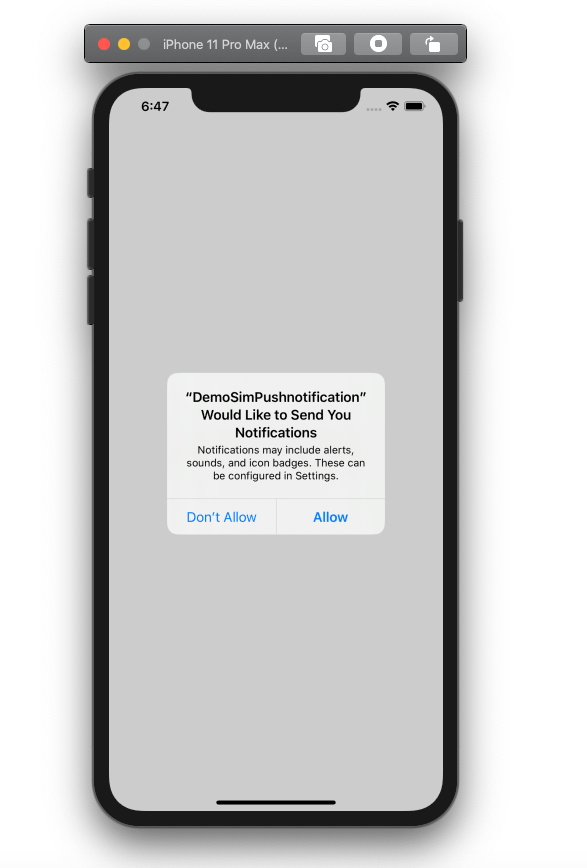
Now first, let’s run the app, we will get a dialog asking for permission to allow the app to send push notifications. Click on Allow.
Step:3
Now here comes the main Part of this BLOG.
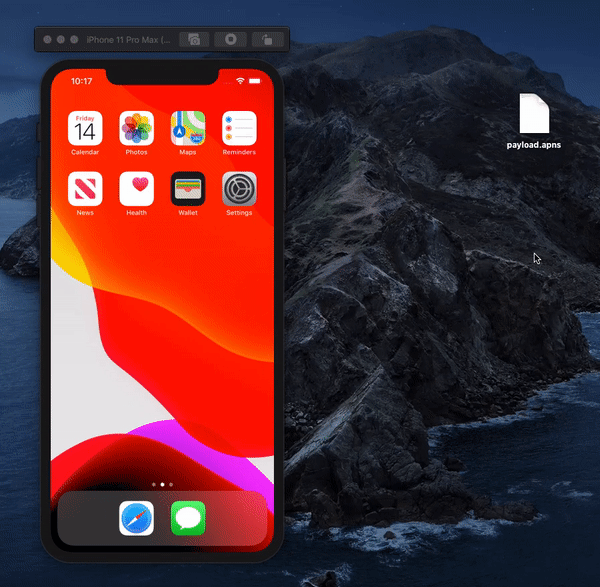
Now first we will need a JSON file with a valid Apple Push Notification Service payload. I am creating a file named payload.apns on my desktop and adding the below content in this file:
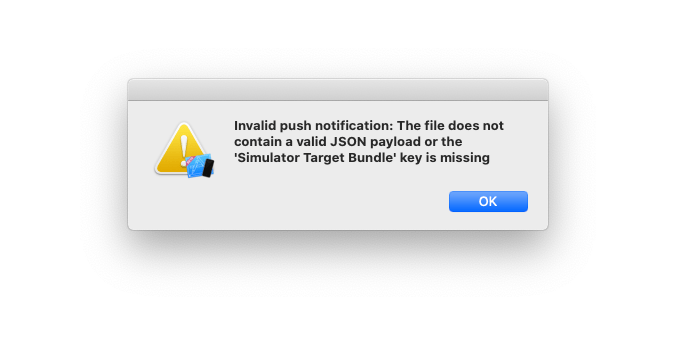
Drag and Drop method required the payload to contain the “Simulator Target Bundle” key. Otherwise, you would get this error message.
Error:
After adding the “Simulator Target Bundle”, Code will look like this.
NOTE:
The release note of Xcode 11.4 beta has been updated note:

“simctl also supports sending simulated push notifications. If the file contains “Simulator Target Bundle”, the bundle identifier is not required, otherwise, you must provide it as an argument:
$ xcrun simctl push <device> com.example.myapp ExamplePush.apns”
<device> will be replaced by the device identifier.
com.example.myapp will be replaced by your project’s bundle identifier
ExamplePush.apns will be replaced by the filename of our apns file.
The bundle identifier is necessary if you want to drag and drop a file from the desktop to the simulator, you can add it with the “Simulator Target Bundle” key in the apns file.
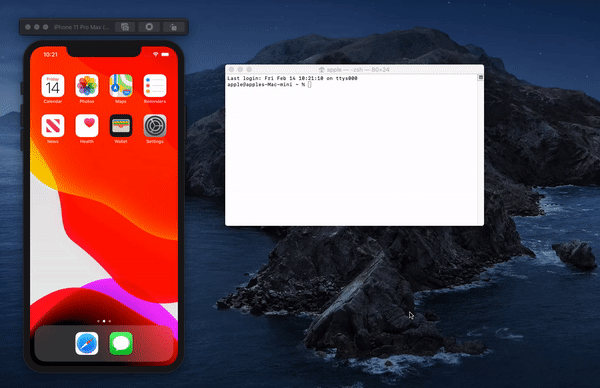
Now, write this command in the terminal as it is shown in the release note:
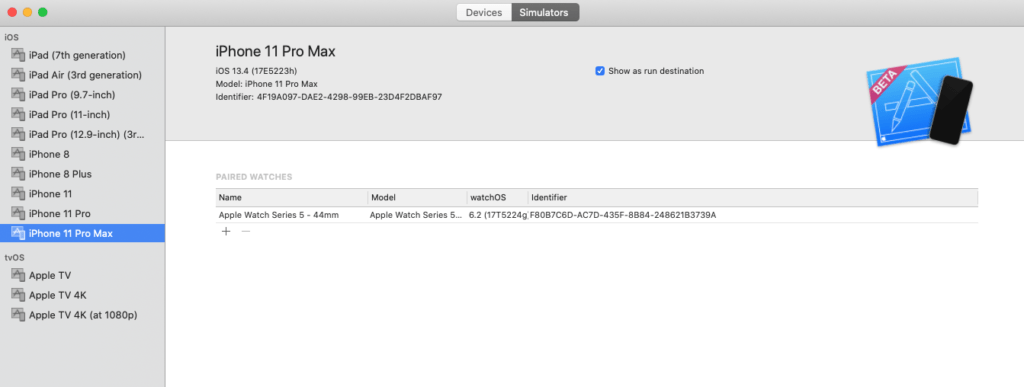
$ xcrun simctl push 4F19A097-DAE2-4298-99EB-23D4F2DBAF97 metiz.DemoSimPushnotification payload.apns
Here,
4F19A097-DAE2-4298-99EB-23D4F2DBAF97 is my device identifier.
metiz.DemoSimPushnotification is my project’s bundle identifier.
payload.apns is the file name of my apns file.
Bundle Identifier:
Device Identifier:
Now, press Enter!
Firstly, we have to send the app to the background if we want to see the push notification. Now, let’s get ready to see the magic!
But for that, you will have to drag and drop this file over to the simulator.
Here’s another way to do it as well-
Run the command in the terminal and you can see the magic in the Simulator!
From my test Sound key is not working, but this might be fixed in the future.
We told you, you will see the magic, didn’t we?

Conclusion
Now just think how useful this new release is. Now you can test push notifications of the iOS simulator which was not possible earlier. All thanks to the release of Xcode 11.4 beta which made it possible to test push notifications in the iOS Simulator.
We hope we were helpful and clear enough to make you understand how it is done. We hope the blog and the pictures in the blog were understandable enough and helped you in understanding the whole process.
If you have any doubts or queries, feel free to get in touch with us.

Leave a Reply